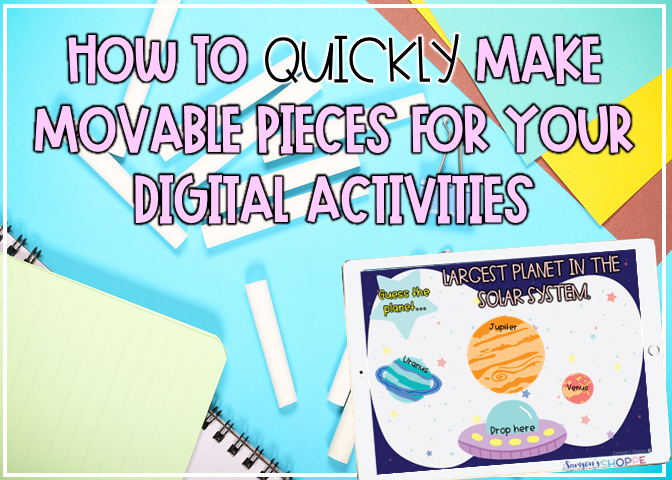
Making movable images for digital activities like Google Slides can be a super time consuming process. Inserting each digital piece and then resizing it a million times, is one reason many loathe making digital pieces… until… this technology tip that really helps out.
Why use movable images?
Movable pieces help engage students. It allows them to interact with the activity. They add an element to your lesson that is not available on other formats. Students will also make a deeper visual and physical connection as they move the pieces around.
How to make movable pieces.
1. Choose the program that you are comfortable using such as Microsoft Powerpoint or Canva.
2. Following the clip artists TOU, create or layer your movable piece.
3. Group the images together by clicking CTRL-G or right click and hit Group.
4. Click on the grouped image. Click Save as picture.
5. Name the image and save in the appropriate folder.
6. Go to your Google Slide activity.
7. Click Insert, Image.
8. Magic! The images are there, just as you wanted them.
Watch the screencast below to see how easy and quickly this can be done!
Need more digital tips? Sign up to get more great tips to make your life easier and your teaching life more FUN!
Sign up


