Weathering and erosion are two natural processes that often get confused.
Weathering is the process of breaking down rocks into smaller pieces, while erosion is the movement of those rocks by water, wind, or ice.
These processes are constantly happening all around us, but they can be difficult for students to visualize.
That’s why it’s important for teachers to find creative ways to teach weathering and erosion in the classroom. By using a variety of hands-on activities, games, and simulations, students will be able to better understand these processes and see how they affect the world around them.
4 Ways to Teach Weathering and Erosion
Rainstorm in a Jar
One way to teach weathering and erosion is to have your students create their own rainstorm in a jar.
This is a great hands-on activity that will allow your students to see the effects of weathering and erosion firsthand. All you need is a
- jar,
- some dirt,
- some rocks, and
- some water.
Simply add the ingredients to the jar in layers and then have your students shake it up! As they watch the dirt and rocks get tossed around, they’ll start to see how weathering and erosion can occur.

Use Common Household Items!

Weathering and erosion are all around us, even if we don’t realize it!
A great way to illustrate this is by using common household items to demonstrate the processes of weathering and erosion.
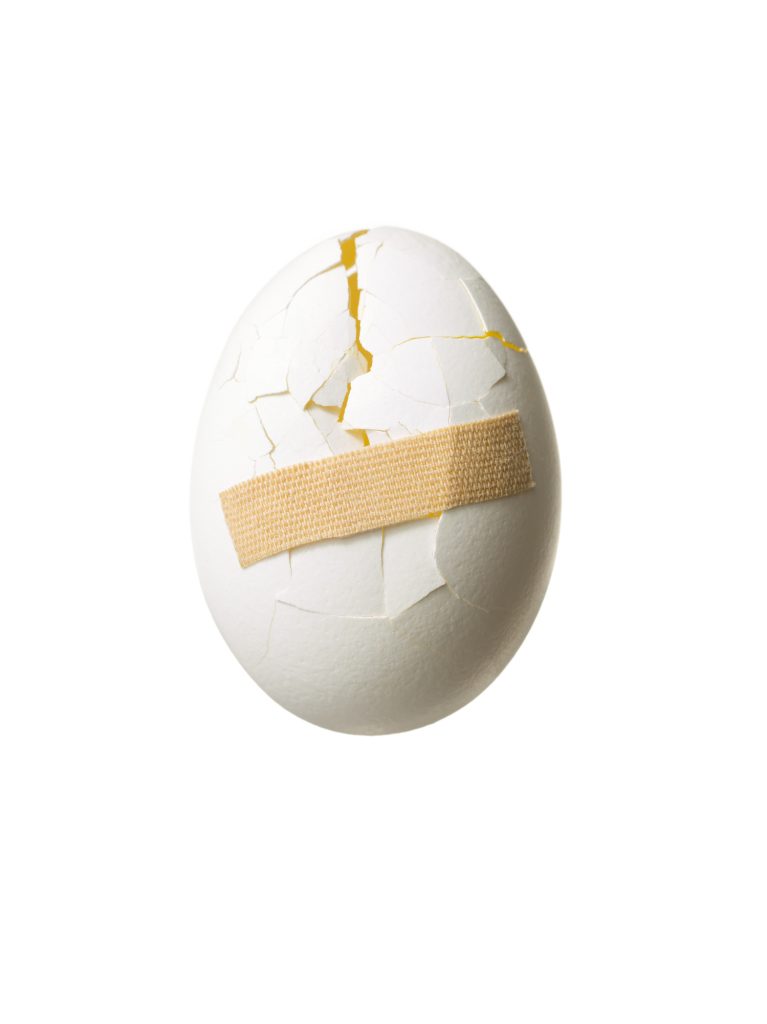
For example, you could put an egg in a glass jar and cover it with vinegar to show how acids can break down rocks over time.
Or, you could place a sponge in a bowl of water and watch as it slowly breaks down into smaller pieces. There are endless possibilities for fun demonstrations like these!
Model it!
Modeling is another great way to teach weathering and erosion. You can create models out of playdough, salt dough, or even paper mâché. Once you’ve created your model, use a toothbrush or other soft bristled brush to gently brush over the surface. This will represent water slowly wearing away at the rock surface. You can also use a hairdryer set on low to represent wind erosion. Observe how your model changes over time as different weathering processes occur.
Integrate Technology into your Lesson
If you want to give your students a more hands-on approach to learning about weathering and erosion, there are some great online simulations that allow them to experiment with different variables to see how they affect the process.
For example, the USGS website has a great simulation where students can control factors like wind speed and type of rock to see how they affect rates of weathering and erosion.
These kinds of simulations provide a great opportunity for scientific exploration and discovery!
You can also try reinforcing vocabulary and other important concepts related to weathering and erosion by having students play games that will summarize their learning.
These types of activities can:
- be left with a substitute
- assigned for homework
- used for independent practice
- help reinforce concepts with struggling learners
Teaching weathering and erosion doesn’t have to be difficult – there are plenty of fun, interactive ways to do it!
By using games, simulations, models, and real-world examples, you can help your students better understand these important concepts. So get out there and start teaching!


