Science friend, are you looking for physical and chemical change activities to engage and motivate students? These five activities will have students differentiate the differences between a physical change and a chemical change while having a lot of fun. Depending on your classroom, you may choose to do these as demonstrations or allow students to work in small groups.
A physical change is a change in the size, shape, or state of matter.
A chemical change is a change that creates something new.
Physical and Chemical Changes Experiments
Physical and Chemical Change Experiment #1 :
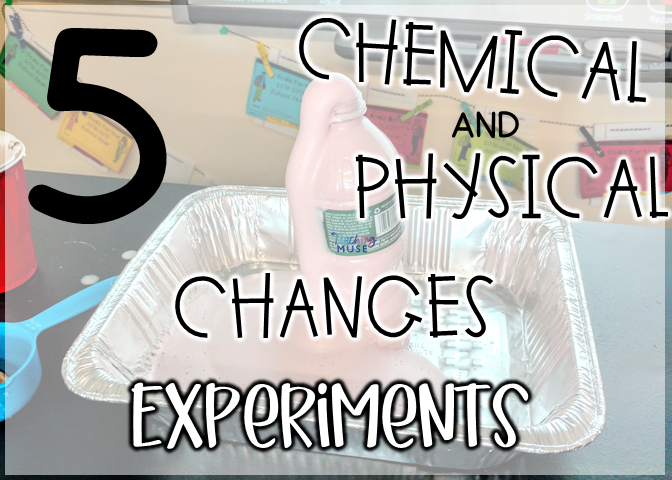
Baking Soda and Vinegar
This experiment is an easy win to incorporate into your physical and chemical changes unit if you are on a budget. Baking soda and vinegar are two staples in most kitchens. Bring these materials into your classroom.
Once you combine the two materials, students will be able to see bubbles form. Bubbles are one way to tell that a chemical change has occurred as it is a new substance that forms when baking soda and vinegar combine.
This activity will take a few days to observe before seeing the results but is a great example of a chemical change. To complete this experiment, you will need:
- An egg
- A glass
- White vinegar
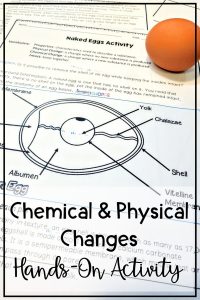
Discuss with the students about the egg. Then, ask them to predict what they think will happen when the vinegar meets the egg. Throughout the 3 days, students should see that the eggshell breaks down because of the acid in the vinegar. Eventually, the entire eggshell will disappear, leaving just the insides of the egg.
Why does this happen? This chemical change occurs because the egg actually has little holes in its shell. The vinegar, an acid, finds its way into these tiny holes and started to break it down. However, the egg’s insides will remain intact because there is a membrane surrounding it that holds everything together.
Chemical and Physical Changes Experiment #3: Gas Balloons
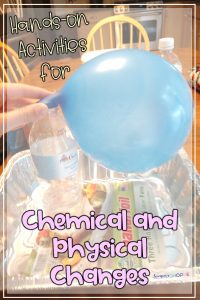
Another fun but easy experiment to use in your classroom involves soda and a balloon. Take a 1-liter bottle of any brand of soda and place a balloon around the mouth of the bottle.
This experiment will need about ten minutes to see the changes.
Over time, students should observe that the balloon begins to fill up and grow larger.
This experiment can be used to see if students are thinking critically about examples of chemical and physical changes. For example, while I teach students that bubbles can indicate a chemical change, the bubbles need to be a new substance. Since the bubbles are already in the soda bottle, this is not a chemical change. However, the size of the balloon is growing because the carbon dioxide from the soda is spreading out to fill the space in the balloon, which is a physical change.
Physical and Chemical Changes Experiment #4: Does surface area affect the rate of melting?
This activity is another one to observe a physical change. The materials are simple,
- ice cubes,
- a timer, and
- a ruler.
Students will use the timer to calculate how long it takes ice cubes of different sizes and shapes to melt. Then, students can make comparisons for crushed or cubed ice. Next, have students use the ruler to determine the surface area of the cubes – but caution them from touching the cubes as their body heat will affect the melting rate.
Since this activity is monitoring a change of the state of matter, it is a physical change. However, students will enjoy working with the ice cubes, and the simplicity of this activity is perfect for integrating into your science classroom.
Chemical and Physical Changes Experiment #5: Digestion
Reinforce the concept that science happens in our bodies, including physical and chemical changes. For example, this experiment will mimic how the muscles of our bodies help to break down food in the human body to be digested.
For this experiment, you will need:
- 2 Ziploc bags
- Various food inside the bag
- 1/2 c Water
- Timer
Fill the same types of food inside each bag trying to keep them as similar as possible. Pour about 1/2 c of water into each bag. Set your time for 5 minutes. Allow the bags to remain as they are.
After 5 minutes, mimic the stomach muscles moving to break down the food. Often, this is a classroom demonstration, so I will call students up to squeeze the bag to resemble stomach muscles.
Put the bags down, have students make observations, wait another five minutes and repeat. Students should observe that the food in the bag that has muscle contractions will break down more than the other bag.
While this demonstration shows a physical change, remind students that acids and enzymes help to further break down food which is a chemical change.
These are 5 super easy experiments to integrate into your physical and chemical changes unit. If you are looking for ready-made resources to use, check out the following:

