Back in what feels like the age of the dinosaurs when I first started teaching, I had a student named Cole. We were reading the novel Cracker! The Best Dog in Vietnam. During the reading, he was always Doodling = not paying attention. I would stop and try to catch him not able to answer a question or understand an important plot event in the story. Guess what? It never happened. Cole was paying attention. He was able to doodle because the doodling ALLOWED him to pay attention. This observation was a game-changer that I am so glad happened early on in my career.
What are sketch notes, doodle notes or visual note-taking?
Sketch notes, visual note-taking, doodle notes… these are all lingo you may have heard being thrown around in the education world but not quite had a chance to wrap your head around. All three are not the same; however, when used strategically in the classroom, all three can yield tremendous results. To give a very broad definition for all three of these terms,
Why use a visual note taking method?
Engages both the right and left hemispheres, allowing deeper connections to the text to be made.
- Since there are deeper connections, the information will be converted to Long Term Memory.
- Writing AND drawing make us smarter. How? Creating hand to brain connections allow the brain to stimulate neural pathways between visual, motor, and cognitive skills.
- Studies have proven that visual note taking allows learners to retain 29% more information than those without.
- Digital technology may save paper but doesn’t help our memory. Studies show that handwriting notes allow the learner to retain more information.
How to Use Visual Note Taking in the Classroom:
STUDENTS WILL NEED TO BE TOLD THEY CAN DRAW AND DOODLE.
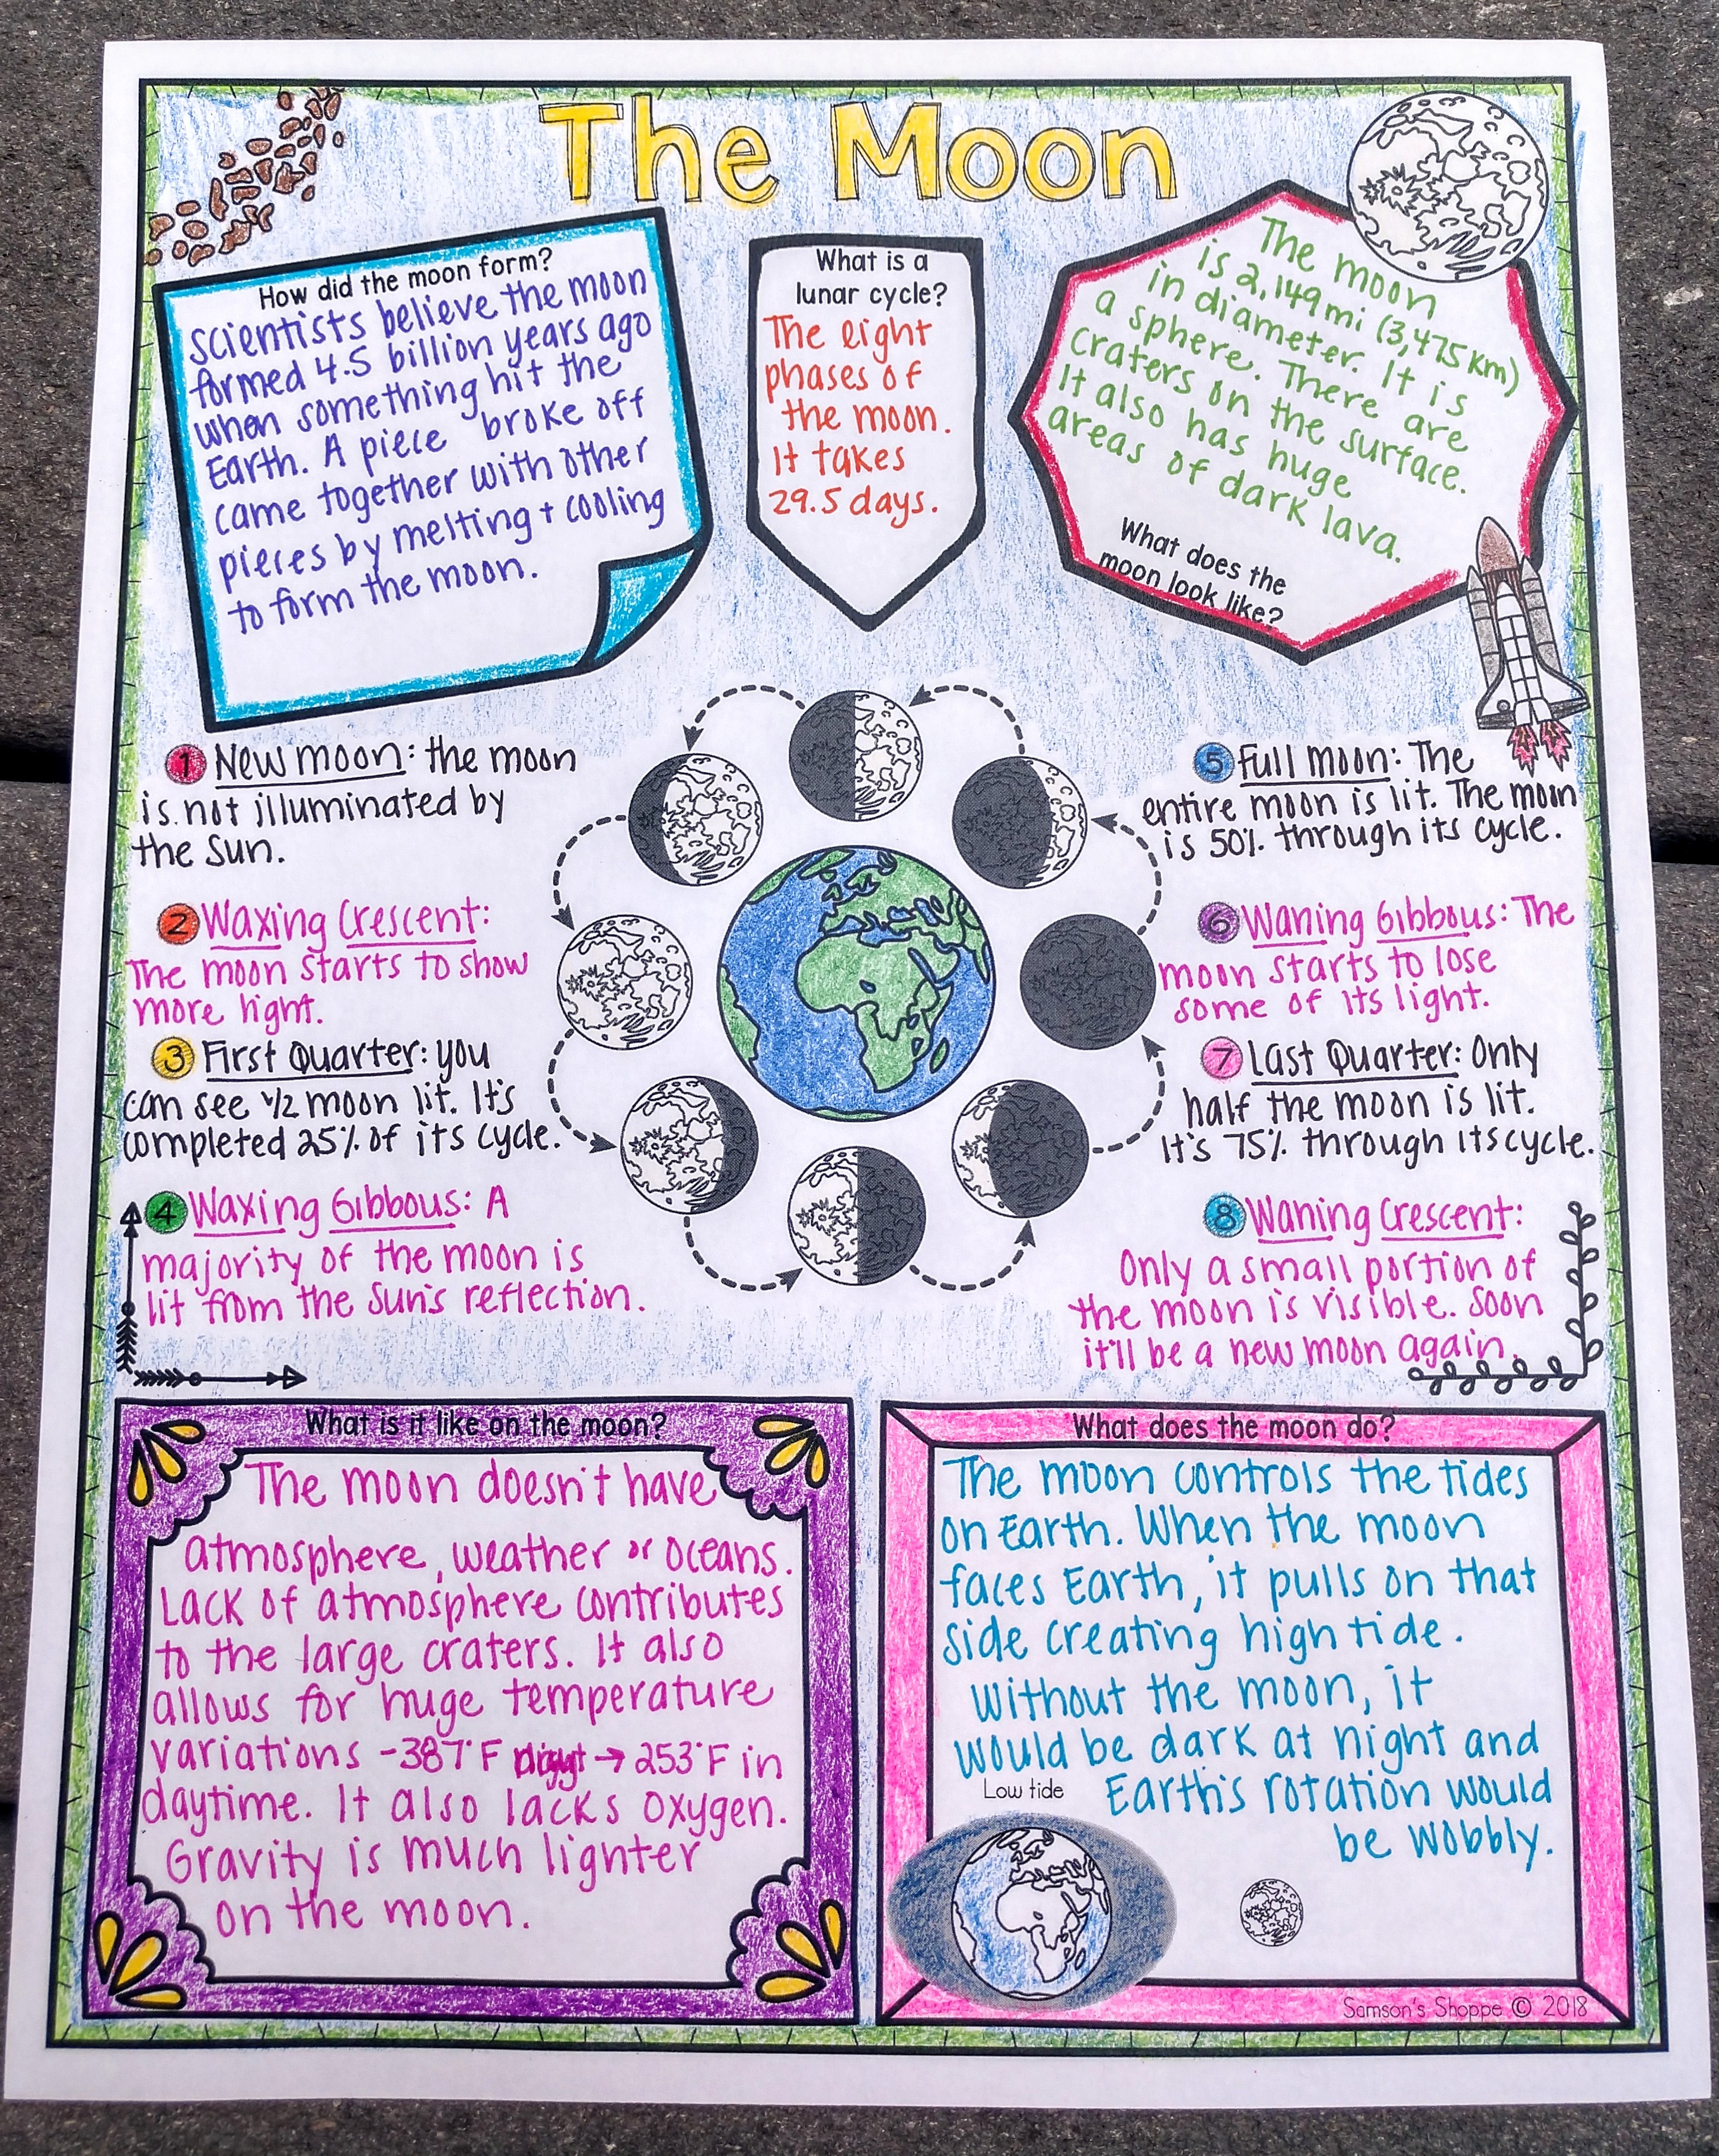
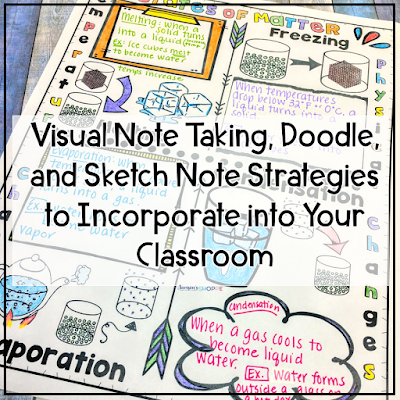
My use of sketch notes in the classroom is slightly tweaked for most of my students. I found that students in grades 4, 5, and 6 still struggle with the confidence and skill to use this method. For students who need them, I create some or all of the work for them in what may look to the uneducated eye as glorified graphic organizers. They will then take the time to fill it in and color it. Coloring is key as this will help their brains to continue to engage the right and left hemisphere. This method has worked very well for my students. It allows them to summarize key points in what they learned. They can use the graphic organizer later on to study if there is an upcoming assessment. Students are engaged as they are learning. They are happy to review. All of this combines with a learner who has better retained the information.
Classroom Uses:
While the possibilities are endless. Here are some ways you can use them:
- Explain how to solve math problems
- Review science topics
- Gather information for research projects
- Demonstrate an understanding of the plot summary
- Create a timeline to sequence information
- Identify key facts and events from a video
Try out sketch notes in your classroom today.
