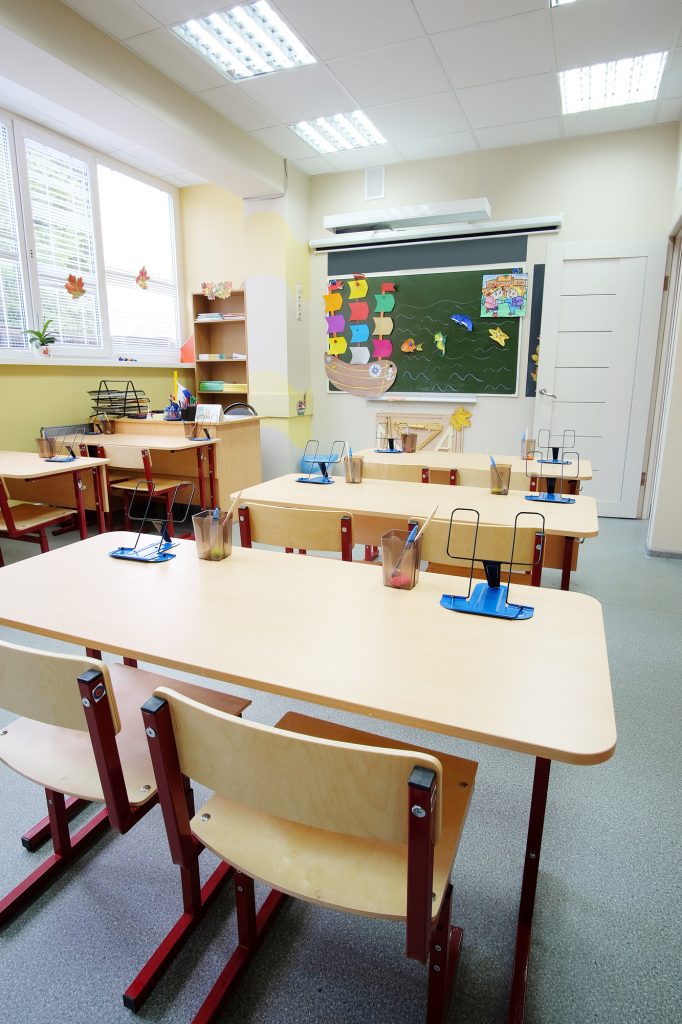
Welcome, teachers, to a helpful guide on creating successful classroom seating charts! Finding the perfect arrangement for your students can make a big difference in how smoothly your classroom runs and help improve classroom management. Let’s explore practical tips and strategies that will assist you in arranging your students’ seats effectively. Whether you’re a seasoned educator or just starting out, these insights will help you create an organized and productive learning environment.
Tips for Successful Seating Charts
1. Observe and revise
2. Randomly assign
Sometimes randomly assigning seats can work out better than expected. Use this idea to truly randomize where they are seated.
Give students a Post-it note with a number or phrase on it.
Students grab a card on their way in and find the matching card at their desks.
This can give you a good starting point for your classroom seating chart. There may need to be tweaks throughout the year, but it can provide a nice pairing of students.
3. Student Requests
Talk to your students and ask them about their seating preferences, not necessarily regarding who they want to sit with but where they like sitting.
Some things to keep in mind when developing a seating chart:
- IEP accommodations
- Visual needs
- Areas of distractability
While most students may not have significant needs for a formal request, as students age, they can determine where in the classroom would be the best place for them to learn.
Labeling Student Desks
Labeling student desks in the primary grades is necessary and easy as most teachers have the same students throughout the day.
Now, with teachers departmentalized as early as grade 3, personalizing desks may not be an option.
For the most part, students will remember their assigned seats pretty quickly, but here are some ideas to help them:
- Project the seating chart on your Smartboard.
- Label the seat number with a paint marker. Then you can use this for other randomized activities like forming small groups.
- Place a number on the top corner of the desk. This might be a better option if you will have trouble keeping track of the numbers and worry students will manipulate them as it is harder to move a desk around than a chair.
Creating a Classroom Seating Chart
To create a classroom seating chart, you might already have a template in your Learning Management System, so ask your technology specialist if you are unsure.
One of the easiest methods I have used is to create a Google Slide to mimic my classroom. Use the shapes tool to add to classroom furniture. Then add textboxes with student names.
This method is fairly quick; you can duplicate the Slide if you have multiple classes.
Editing the text boxes is easy if you make switches throughout the year.
Also, I note students with IEPs or 504 plans by bolding their names to help me keep track, especially at the beginning of the year.
In conclusion, teachers, a well-thought-out seating chart can greatly impact your classroom management. By considering the needs and personalities of your students, creating a balanced mix, and maintaining flexibility, you can foster a positive and conducive learning atmosphere. Remember, each seating arrangement is a new opportunity to facilitate engagement, cooperation, and success among your students. Take these tips to heart, adapt them to your unique classroom, and watch as your students thrive and grow.


